
1982 KZ1300 rescue and rebuild
- Daro
-

- Offline
- Premium Member
-

- Posts: 144
- Thanks: 80
Re: 1982 KZ1300 rescue and rebuild
8 years 8 months ago
Hi StanG not long ago I did what Tyler said, I got some after market gasket and use Permatex seal on it around water channels on top and bottom of it. Got first 250 km. done but its holding perfect.
The following user(s) said Thank You: StanG
Please Log in or Create an account to join the conversation.
- StanG
-
 Topic Author
- Offline
- Banned
-

- Posts: 1987
- Thanks: 237
Re: 1982 KZ1300 rescue and rebuild
8 years 8 months ago
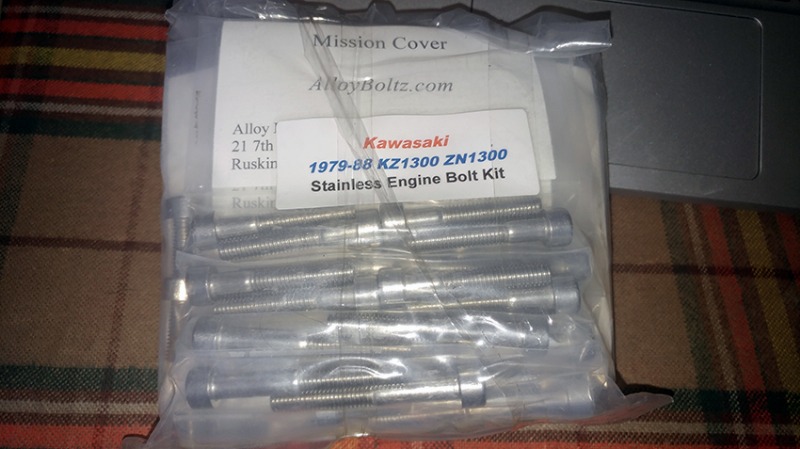
I already have a set of stainless bolts for all the engine covers, including this oil pan ")
Please Log in or Create an account to join the conversation.
- StanG
-
Topic Author
- Offline
- Banned
-
- Posts: 1987
- Thanks: 237
Re: 1982 KZ1300 rescue and rebuild
8 years 8 months ago
Yesterday I took care of the starter. It looked fine on the outside when mounted on the engine. Not so hot when removed... It was seized. I got it turn after gently back and forth, but of course it had to be taken apart.
Here is the culprit - rust.
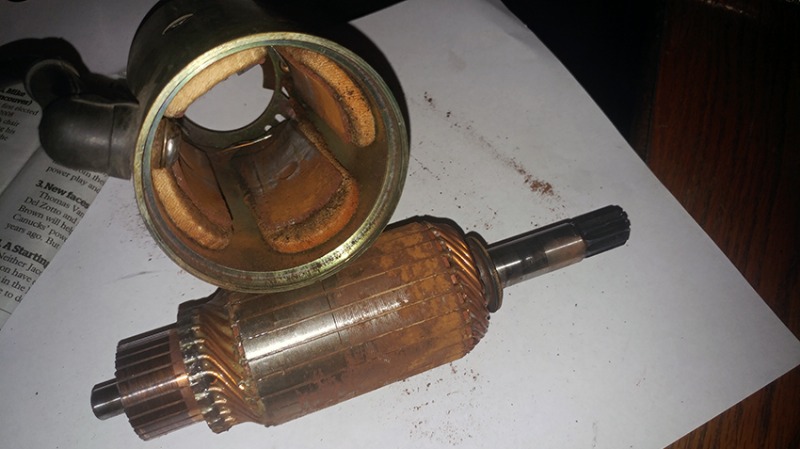
The other side.
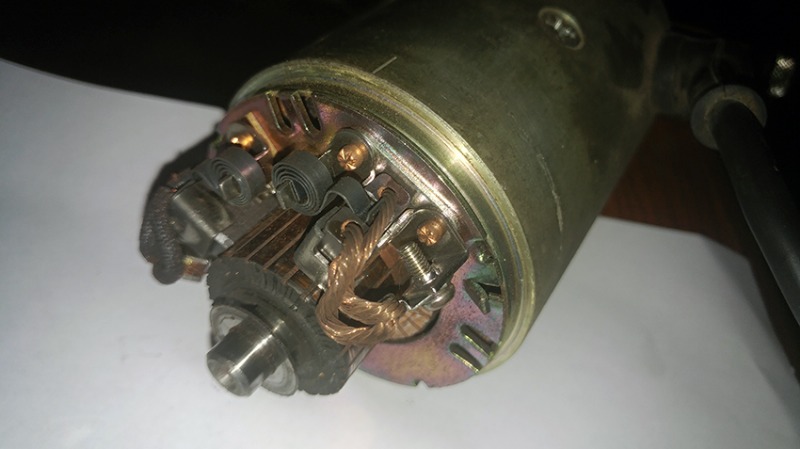
Lots of carbon from the brushes. They are a bit short but still usable.
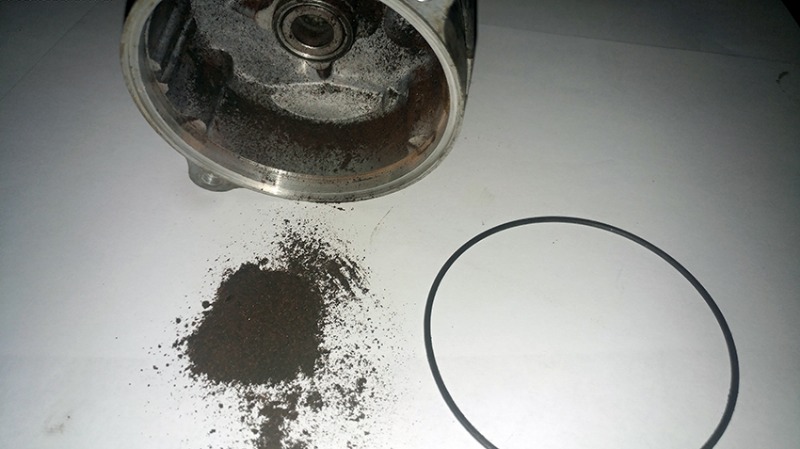
All cleaned, ready for reassemble.

Here is the culprit - rust.
The other side.
Lots of carbon from the brushes. They are a bit short but still usable.
All cleaned, ready for reassemble.
Please Log in or Create an account to join the conversation.
- StanG
-
Topic Author
- Offline
- Banned
-
- Posts: 1987
- Thanks: 237
Re: 1982 KZ1300 rescue and rebuild
8 years 8 months ago - 8 years 8 months ago
All back in one piece.
I completely removed the rust very carefully with wire brush and sand paper. Then some polishing with Autosol metal polish followed by spraying all with electrical contact cleaner. All shiny inside-out. On bare metal I applied ACF-50 aircraft anti-corrosion formula.
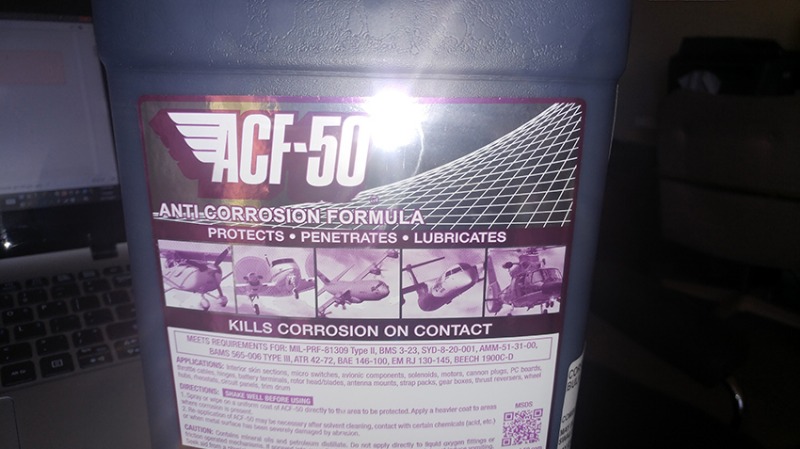
The casing was sanded and sprayed with 65% zinc rich galvanizing coating. Very sturdy. Both ends of casing polished aluminum and rubbed with ACF-50 for protection.
Inside bearings cleaned and greased.
Turns beautifully, ready to go!
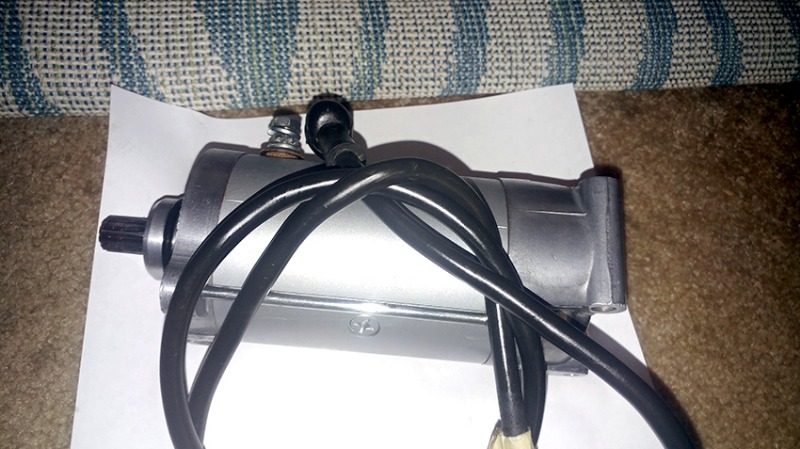
It's easy to disassemble and service the starter. I replaced the end seal but left the two casing big thin o-rings on. If I find new brushes replacements in the future I will exchange them. The current will work well for in the meantime.
I completely removed the rust very carefully with wire brush and sand paper. Then some polishing with Autosol metal polish followed by spraying all with electrical contact cleaner. All shiny inside-out. On bare metal I applied ACF-50 aircraft anti-corrosion formula.
The casing was sanded and sprayed with 65% zinc rich galvanizing coating. Very sturdy. Both ends of casing polished aluminum and rubbed with ACF-50 for protection.
Inside bearings cleaned and greased.
Turns beautifully, ready to go!
It's easy to disassemble and service the starter. I replaced the end seal but left the two casing big thin o-rings on. If I find new brushes replacements in the future I will exchange them. The current will work well for in the meantime.
Last edit: 8 years 8 months ago by StanG.
Please Log in or Create an account to join the conversation.
- Kawboy
-

- Offline
- Sustaining Member
-

- Posts: 3247
- Thanks: 1202
Re: 1982 KZ1300 rescue and rebuild
8 years 8 months ago
Looking good there Mister !! Nice work.
The following user(s) said Thank You: StanG
Please Log in or Create an account to join the conversation.
- StanG
-
Topic Author
- Offline
- Banned
-
- Posts: 1987
- Thanks: 237
Re: 1982 KZ1300 rescue and rebuild
8 years 8 months agoHi StanG not long ago I did what Tyler said, I got some after market gasket and use Permatex seal on it around water channels on top and bottom of it. Got first 250 km. done but its holding perfect.
Thank you Daro. I already ordered another head gasket directly from local Kawasaki dealership. I am going to pick it up today, and of course open the package and see how it looks. I got a refund for the other one and got to keep it. So I have two back up now plus this one coming. I will apply the sealant you suggested even if the seals on the coming gasket look good. Keep me updated please how it's holding up!
Please Log in or Create an account to join the conversation.
Moderators: dcarver220b
Time to create page: 0.245 seconds