
Kawboy's restoration/conversion of a 1980 KZ13
- Kawboy
-
 Topic Author
- Offline
- Sustaining Member
-

- Posts: 3243
- Thanks: 1198
Re: Kawboy's restoration/conversion of a 1980 KZ13
1 year 5 months ago - 1 year 5 months ago
Sent an inquiry off to EBC regarding their friction plates for the KZ1300 . Their part # CK4458 is the kit for the KZ1300 consisting of 9 friction plates.
The thickness of the friction plates as new is 3.5mm. Mine measure 3.35mm and the service limit is 3.2mm . Doing the math I'm at the halfway point to the service limit, so no need for new plates.
Oiled up the steel plates with Shell Rotella T6 (the engine oil I'll be using) and put back together.
Bottom line - I spent an entire day (8hrs) cleaning, inspecting, and reinstalling. I'm glad I put in the effort because more than half of the plates were stuck together and the surface rust would have contaminated the engine oil and bearing in mind that iron oxide (rust) on the hardness scale Is up at the top. It makes great sandpaper so removing it is a proper thing to do here and not leave it to "fix itself.
Last edit: 1 year 5 months ago by Kawboy.
Please Log in or Create an account to join the conversation.
- Kawboy
-
Topic Author
- Offline
- Sustaining Member
-
- Posts: 3243
- Thanks: 1198
Re: Kawboy's restoration/conversion of a 1980 KZ13
1 year 2 months ago
3 months and 3 weeks later.......... Crazy times around here for me. I can't stand it. Thanks to all the shit going on in the world, I 've been forced to sell the house and downsize sort of. Sold this place and actually bought a slightly larger house with the same size piddly garage for $400,000 less and now I'll have to renovate this house to the cost of $150,000 to bring it back to life. I can't believe how bad people can ruin a house. It's 25 years old and I'l have to replace the hardwood floors (1500 sq. ft., ), new kitchen, 2 new bathrooms, furnace, A/c, Hot water tank, Roof, Eavestroughs, Facia board, all new windows and doors, baseboard, casing around doors and windows and that's just off the top of my head. When I'm done I'll have increased the value by about $300,000 and it will be worth similar to the houses surrounding it. The thing that really makes it worth while is that 47 new houses are being built around it with a starting price of $ 1.7 Million to start so I can't go wrong here. It just means I'll have to stop working on the bike for a while.
Speaking of which.... I had the engine out and replaced all the internal chains and then I started cleaning up the starter, Clutch plates, and then started polishing the covers. The engine was painted with silver brake caliper paint and today I reinstalled the engine back in to the frame. Now I wish I could finish things as I had planned then start putting everything back together but now we are moving on May 30th and I have to prep the bike for transporting and box up all the parts AGAIN !!! This will be the fifth time I've moved this bike in pieces. If it doesn't hate me by now, it never will.
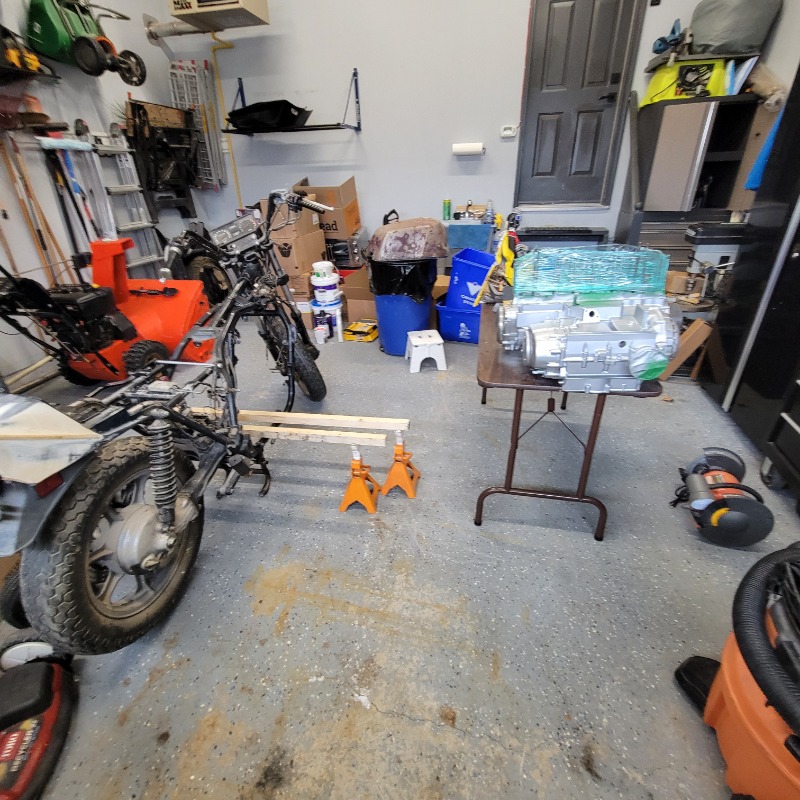
So, easy peasy - engine's on the table, 2 x 2 pine laying across the frame rails and set up on jack stands. Just lift the engine off the table ( Brute force and ignorance, or maybe better put, just pick it up and move it because , well, I'm only 69 years old and not dead yet) and place on the pine rails.
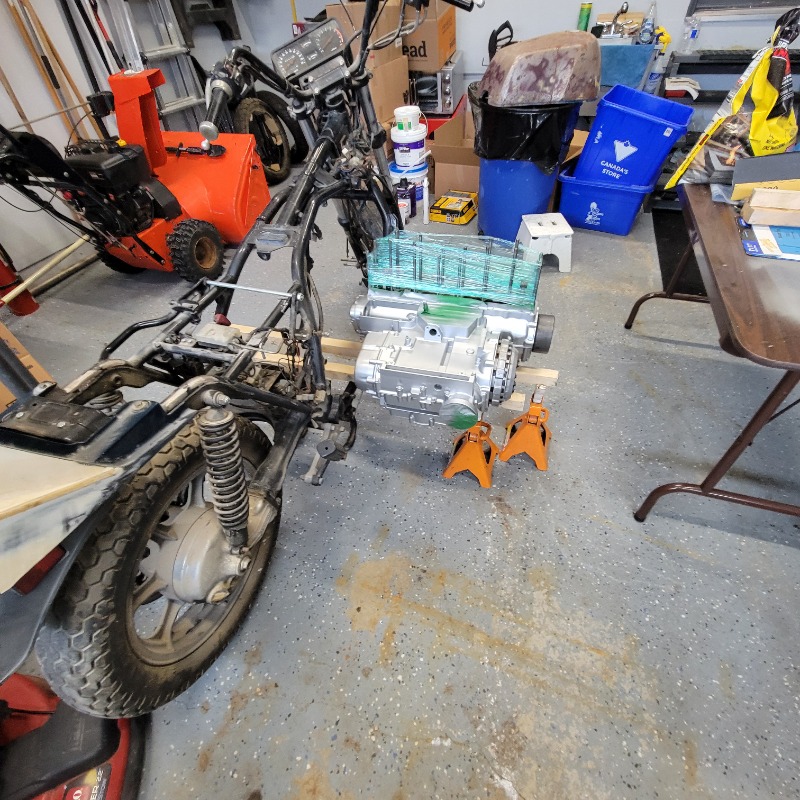
Engine sitting on the rails.
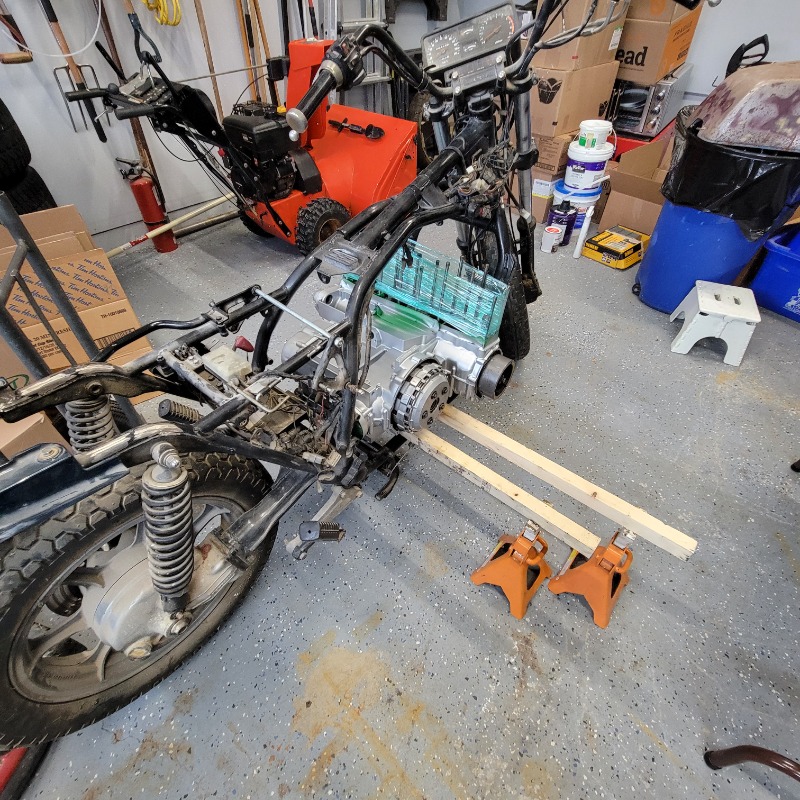
Slide engine into place, then lift the engine with a rachet strap and remove the rails. It took me all of 5 minutes to move the engine from the table and have in the frame hanging on the rachet strap. 15 minutes later, all the brackets are in place and all the engine mount bolts are installed. Just too easy and as slick as duck shit. Never worried about any possible damage. Safe and simple. Got to love it when a plan comes together.
Next, I have to paint the oil pan and install, paint and install the starter, finish polishing as many covers as I can in the next 2 months and install. So we'll see how that goes.
Speaking of which.... I had the engine out and replaced all the internal chains and then I started cleaning up the starter, Clutch plates, and then started polishing the covers. The engine was painted with silver brake caliper paint and today I reinstalled the engine back in to the frame. Now I wish I could finish things as I had planned then start putting everything back together but now we are moving on May 30th and I have to prep the bike for transporting and box up all the parts AGAIN !!! This will be the fifth time I've moved this bike in pieces. If it doesn't hate me by now, it never will.
So, easy peasy - engine's on the table, 2 x 2 pine laying across the frame rails and set up on jack stands. Just lift the engine off the table ( Brute force and ignorance, or maybe better put, just pick it up and move it because , well, I'm only 69 years old and not dead yet) and place on the pine rails.
Engine sitting on the rails.
Slide engine into place, then lift the engine with a rachet strap and remove the rails. It took me all of 5 minutes to move the engine from the table and have in the frame hanging on the rachet strap. 15 minutes later, all the brackets are in place and all the engine mount bolts are installed. Just too easy and as slick as duck shit. Never worried about any possible damage. Safe and simple. Got to love it when a plan comes together.
Next, I have to paint the oil pan and install, paint and install the starter, finish polishing as many covers as I can in the next 2 months and install. So we'll see how that goes.
The following user(s) said Thank You: zed_thirteen
Please Log in or Create an account to join the conversation.
- zed_thirteen
-

- Offline
- Sustaining Member
-
- Posts: 558
- Thanks: 147
Re: Kawboy's restoration/conversion of a 1980 KZ13
1 year 2 months ago
I love that idea - I will try to remember that for the next time I need mine out ")
1980 KZ1300 B2 Touring/A2
1980 CBX1000-A
1990 ZZ-R1100 C1
1980 CBX1000-A
1990 ZZ-R1100 C1
Please Log in or Create an account to join the conversation.
- dcarver220b
-

- Offline
- Sustaining Member
-
- Posts: 1273
- Thanks: 294
Re: Kawboy's restoration/conversion of a 1980 KZ13
1 year 2 months ago
Your project reminds me of how to eat an elephant?

One bite at a time!
Good luck.
One bite at a time!
Good luck.
Please Log in or Create an account to join the conversation.
- Kawboy
-
Topic Author
- Offline
- Sustaining Member
-
- Posts: 3243
- Thanks: 1198
Re: Kawboy's restoration/conversion of a 1980 KZ13
4 weeks 14 hours ago - 4 weeks 13 hours ago
Still up to my ankles in house renovations but that doesn't stop me from shopping for parts.
I needed a set of piiston rings. Scotch posted a picture of the "Cruzin Image" piston rings and they are barrel faced to help promote break in. Price is right at $66 USD but I'm not interested.
IMD have piston rings and a great reputation and I have no information of what type of rings are supplied. Price _ $198 USD + shipping + import duties. By the time I turn that into CDN dollars cost would be close to $400 CDN. Can't justify it.
So we go shopping on EBay. Find a set of rings for the KZ650 - $36 USD. Send the seller a request for info and ask the ring thickness. Top and second ring 1.2mm, oil scraper ring 2.5mm. Hmmmm.
KZ1300 rings are top and second ring 1.0mm, oil scraper 2.5mm, so IF I were to open up the ring grooves .2mm ( .008") for the top and second ring, it would work. Also of note , the top ring is a chromium faced steel ring, the second ring is iron ( not sure if it's cast or malluable) and the oil scraper upper and lower rings are chromium faced steel rings. VERY INTERESTING !!
I bought 2 sets $72 USD + shipping + duties. Total cost for me $138 CDN all in.
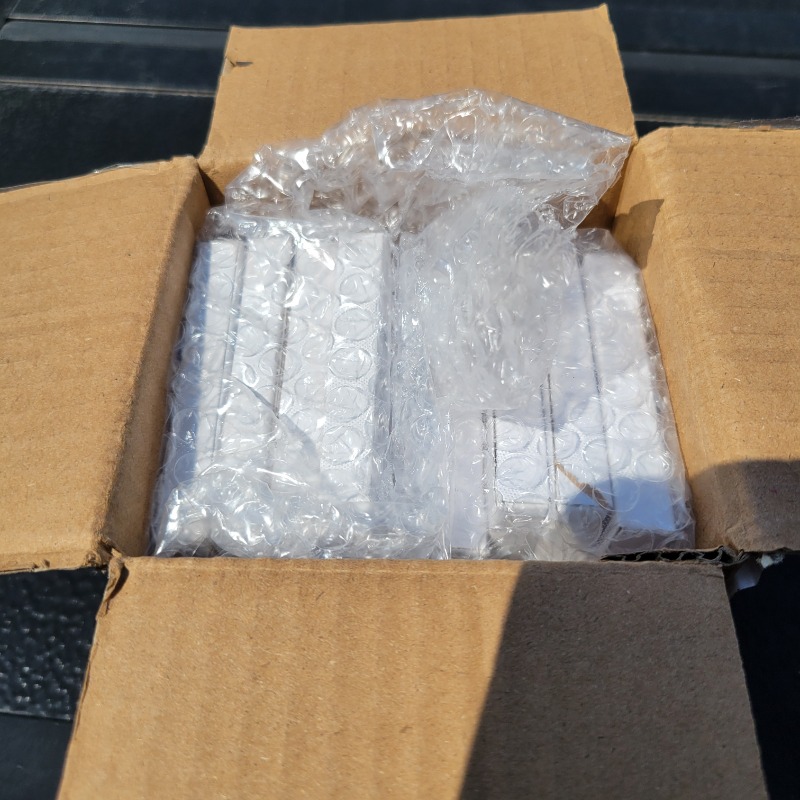
2 1/2 weeks later..... I get this little box
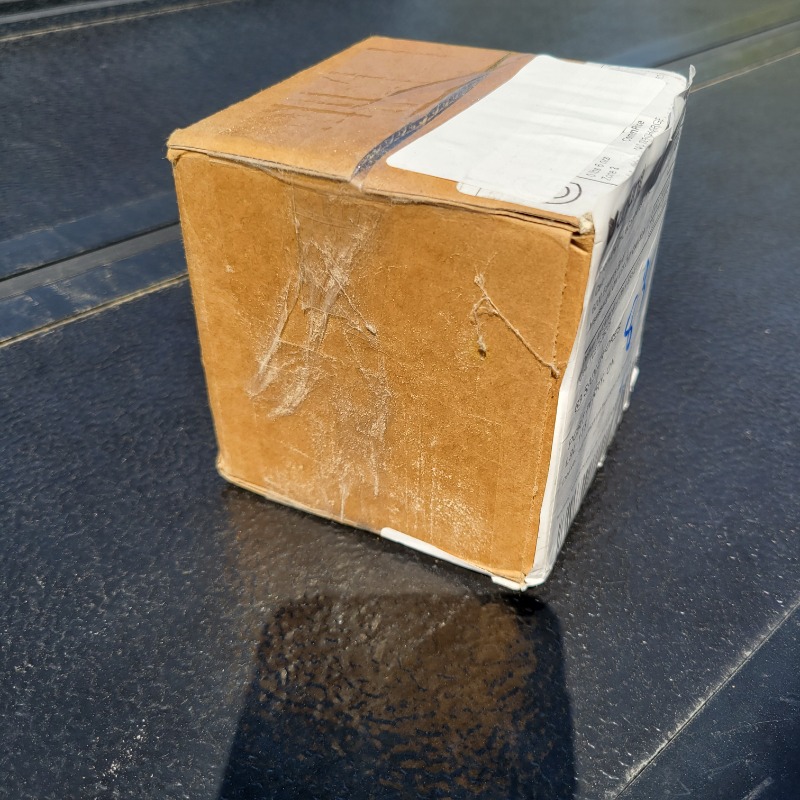
Inside we find 8 little boxes surrounded in bubble wrap
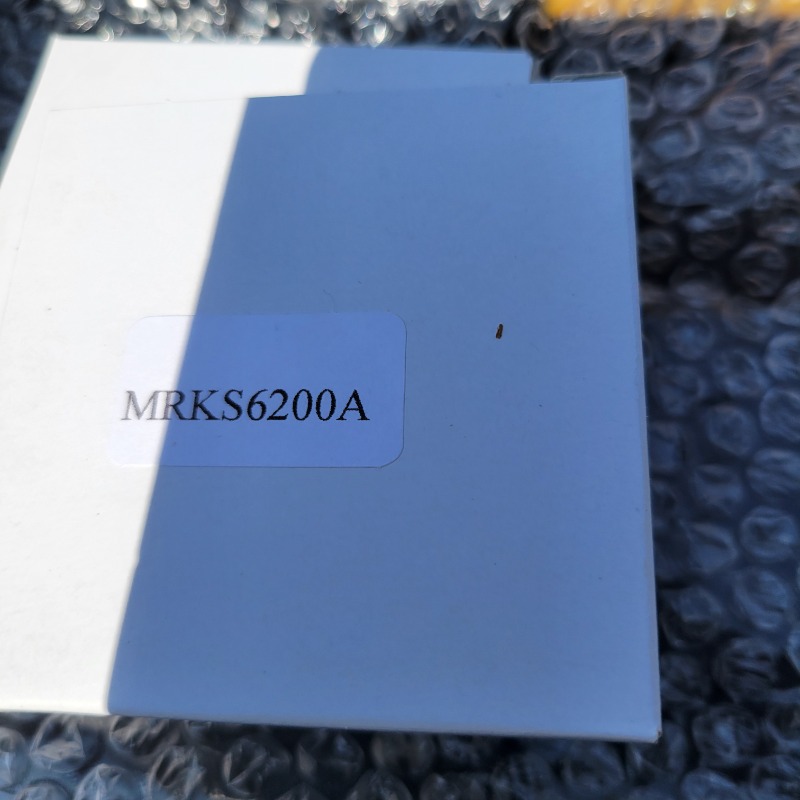
Each set of rings (8 in total) are packaged in their own box
and each set of rings are sealed in a plastic bag. Laid out a set of rings for the pic. Looks very nice.
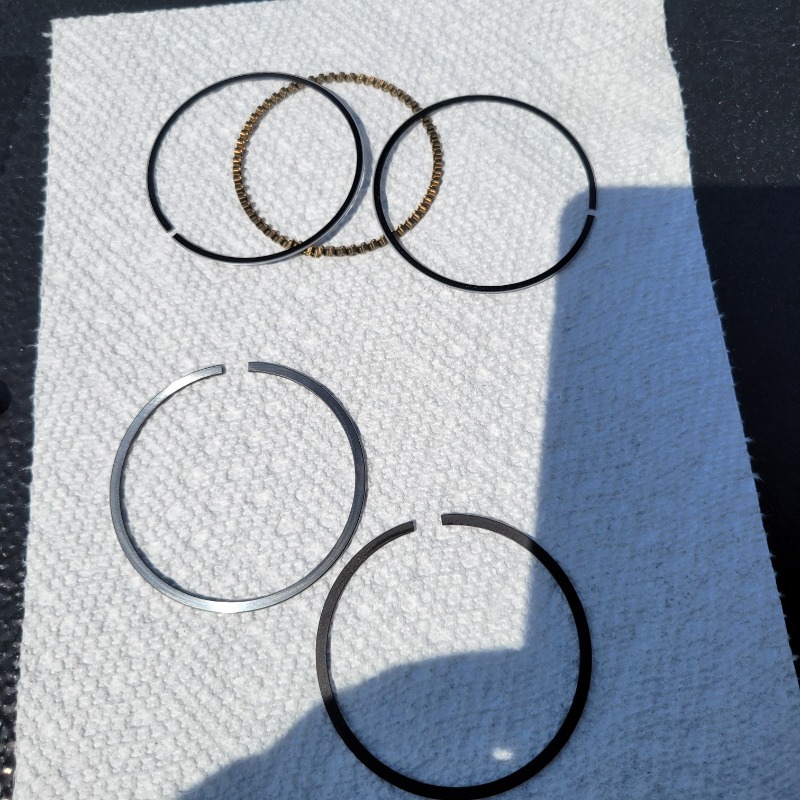
Looking forward to "fitting " the rings. I'll have to machine the grooves.
As a final note I goggled the MRKS6200 A designation on the package and they are apparently made by HUI YANG Precision in Taiwan. They have a PDF downloadable catalog and they make rings for Honda , Suzuki, Yamaha, Kawasaki and Vespa. Again interesting. Not sure where or how they retail at this point but would be worth looking into.
AND, damn, going through their PDF catalog, they also produce rings for , wait for it......the KZ1300 product # MRKS6200B DOH !!!! Now if I could find a retailer for the MRKS6200B rings, probably come in at $54 USD a set...... Bob's your Uncle. For now, I'll fit these rings since I have them and be happy.
I needed a set of piiston rings. Scotch posted a picture of the "Cruzin Image" piston rings and they are barrel faced to help promote break in. Price is right at $66 USD but I'm not interested.
IMD have piston rings and a great reputation and I have no information of what type of rings are supplied. Price _ $198 USD + shipping + import duties. By the time I turn that into CDN dollars cost would be close to $400 CDN. Can't justify it.
So we go shopping on EBay. Find a set of rings for the KZ650 - $36 USD. Send the seller a request for info and ask the ring thickness. Top and second ring 1.2mm, oil scraper ring 2.5mm. Hmmmm.
KZ1300 rings are top and second ring 1.0mm, oil scraper 2.5mm, so IF I were to open up the ring grooves .2mm ( .008") for the top and second ring, it would work. Also of note , the top ring is a chromium faced steel ring, the second ring is iron ( not sure if it's cast or malluable) and the oil scraper upper and lower rings are chromium faced steel rings. VERY INTERESTING !!
I bought 2 sets $72 USD + shipping + duties. Total cost for me $138 CDN all in.
2 1/2 weeks later..... I get this little box
Inside we find 8 little boxes surrounded in bubble wrap
Each set of rings (8 in total) are packaged in their own box
and each set of rings are sealed in a plastic bag. Laid out a set of rings for the pic. Looks very nice.
Looking forward to "fitting " the rings. I'll have to machine the grooves.
As a final note I goggled the MRKS6200 A designation on the package and they are apparently made by HUI YANG Precision in Taiwan. They have a PDF downloadable catalog and they make rings for Honda , Suzuki, Yamaha, Kawasaki and Vespa. Again interesting. Not sure where or how they retail at this point but would be worth looking into.
AND, damn, going through their PDF catalog, they also produce rings for , wait for it......the KZ1300 product # MRKS6200B DOH !!!! Now if I could find a retailer for the MRKS6200B rings, probably come in at $54 USD a set...... Bob's your Uncle. For now, I'll fit these rings since I have them and be happy.
Last edit: 4 weeks 13 hours ago by Kawboy.
Please Log in or Create an account to join the conversation.
Moderators: dcarver220b
Time to create page: 0.187 seconds