
Another basket case project, but with potentially a different end goal!
- McBoney
-
 Topic Author
- Offline
- Platinum Member
-

- Posts: 585
- Thanks: 96
Re: Another basket case project, but with potentially a different end goal!
6 years 5 months ago
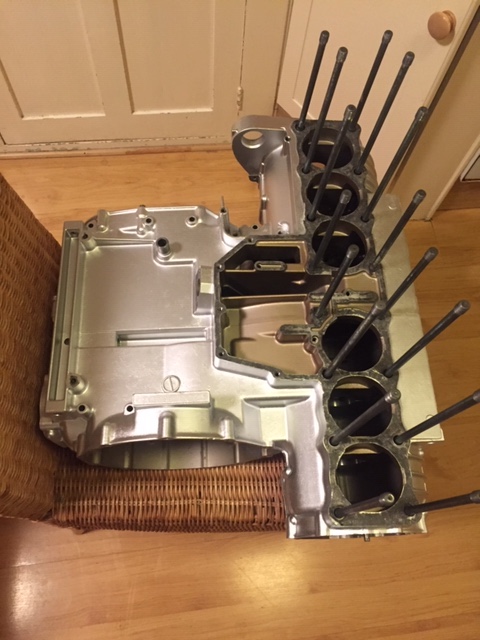
Ok, cases came back pretty clean, but some more paint flaked off, so will need another going over with sanding paper.
Crankshaft also looks fine, but the guy still wanted to see what the big end bearings looked like. So, following Kawboy's advice, we took the third con rod off. After a slight wipe with a cloth, the bearings look like this:
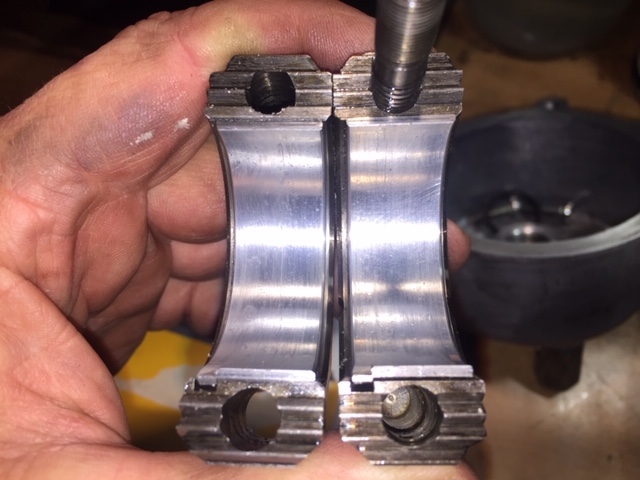
Thoughts? He thought they were fine to put back in.
Paul
Crankshaft also looks fine, but the guy still wanted to see what the big end bearings looked like. So, following Kawboy's advice, we took the third con rod off. After a slight wipe with a cloth, the bearings look like this:
Thoughts? He thought they were fine to put back in.
Paul
Six-Pot-Cafe in the making...
Please Log in or Create an account to join the conversation.
- Kawboy
-

- Offline
- Sustaining Member
-

- Posts: 3193
- Thanks: 1134
Re: Another basket case project, but with potentially a different end goal!
6 years 5 months ago
They look fine. The Babbitt that is on the shells can vary in thickness but generally speaking is around .010" thick If there's a problem Like low oil flow, the Babbitt can melt and you're left with bare spots on the bearings shells (which generally are copper) If the oil was contaminated with particles which made it through the filter if the filter got plugged and went into bypass mode, you would find particles embedded in the Babbitt and scoring on the journals. So things to look for are the particles or bare spots on the bearing shells revealing the copper (or sometimes aluminum)
Usually wiggling the con rod on the journal side to side will be a strong indication of an issue or not. There will be movement, but just enough to feel and very little to see. When the rod bearings fail, they really fail due to the reciprocating motion of the assembly. The mains on the other hand are tougher to feel and Plastigage is really the only way to identify a problem Unless you did a oil pressure test before tearing down the motor
I'm not being critical here because you haven't done anything wrong. You wanted to figure out how bad things were and got into it. I like to go in a different route and that's probably because of my nuclear industry background. Operating machinery of any kind in the aircraft or nuclear fields - We take base line readings of the new equipment and then monitor the baseline readings. At a predetermined point, we overhaul based on a predictive course and all of that is based on best operating practices.
When I think of an engine overhaul, the first thing I want to do is a leak down test to figure out if I have valve issues or piston ring/cylinder issues. Then I want to do an oil pressure test to see if the engine can maintain the required pressure. If it doesn't, then I know I have open clearances greater than spec or I need to look at the oil pressure relief system in case the valve is stuck open
Color of the spark plugs will tell me more
After gathering all this information, I come up with a plan of attack and stay focused on that. If I notice anything else while I'm in there, fine. Add it to the list.
Anyway, I've over complicated this post. Sorry. Just thought it was good info to put out there.
The following user(s) said Thank You: McBoney
Please Log in or Create an account to join the conversation.
- McBoney
-
Topic Author
- Offline
- Platinum Member
-
- Posts: 585
- Thanks: 96
Re: Another basket case project, but with potentially a different end goal!
6 years 5 months ago
Kawboy, as usual, you are spot on and I am also of the 'preventative maintenance' half of the population (the other half being: when it goes wrong we'll fix it) and I also firmly believe in engaging brain before action.
However, you forget; this engine was seized solid with rust on every valve stem, so a pressure test was out of the question and even thinking about a leak down test was wishful thinking. I did have a piston ring issue, as in: they were fused to the bores to such an extent that it took month to get them out and after that I had to get a new block. Of the five plugs that came with the bike, only three were screwed in properly and all were coated in grime and rust coloured. :ohmy:
Considering all that, I question everything that I encounter, and you kindly provide the answers (thank you!). In this case, based on your description and my conversation with the engine cleaning guy - who also felt the side-to-side movement and said that felt well within spec - , I have no reason to doubt the condition of the rest of the bearings and rather than spend a great deal of money and effort on new ones, I will go with them as they are.
Tomorrow I'm having a painting marathon! :woohoo: :woohoo:
Paul
Six-Pot-Cafe in the making...
The following user(s) said Thank You: Kawboy
Please Log in or Create an account to join the conversation.
- StanG
-

- Offline
- Banned
-

- Posts: 2118
- Thanks: 248
Re: Another basket case project, but with potentially a different end goal!
6 years 5 months ago
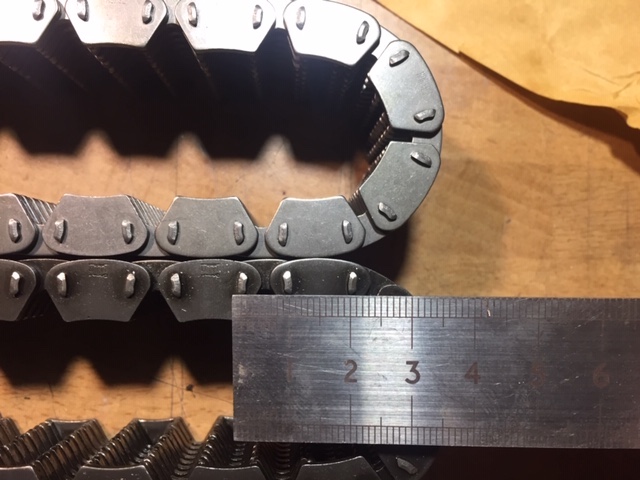
Paul, when you have a break waiting for the paint to dry, haha, could you take a couple of measurements?
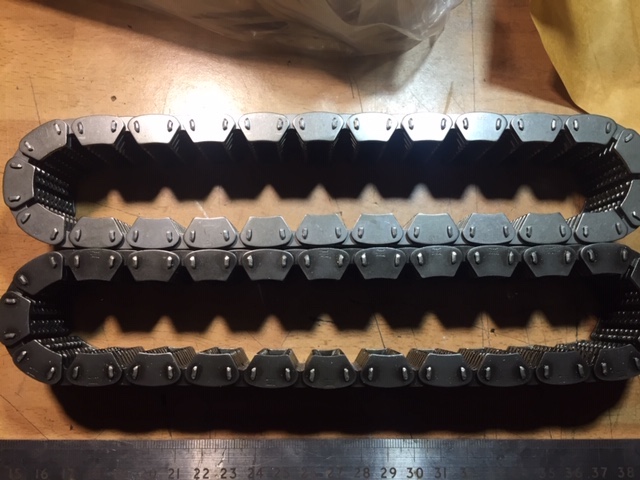
You have both old and new primary and secondary chains. Could you measure them in the same manner as the cam chain is evaluated? Theses are more rigid and shorter, but maybe it would be possible to compare the lengths. And your chains are a perfect scenario - for both you have brand new, and old just exceeding the service limit.
You have both old and new primary and secondary chains. Could you measure them in the same manner as the cam chain is evaluated? Theses are more rigid and shorter, but maybe it would be possible to compare the lengths. And your chains are a perfect scenario - for both you have brand new, and old just exceeding the service limit.
Please Log in or Create an account to join the conversation.
- McBoney
-
Topic Author
- Offline
- Platinum Member
-
- Posts: 585
- Thanks: 96
Re: Another basket case project, but with potentially a different end goal!
6 years 5 months ago - 6 years 5 months ago
Hi Stan,
The difference in length is virtually imperceptible. The new chains feel stiffer than the old ones and flex slightly less, but other than that they are very similar. There is a length difference, but it is very slight. I could only see it by lining up two links with a metal bar and pulling the chains straight, then at the other end you can see a very slight length difference. Top ones are the new ones.
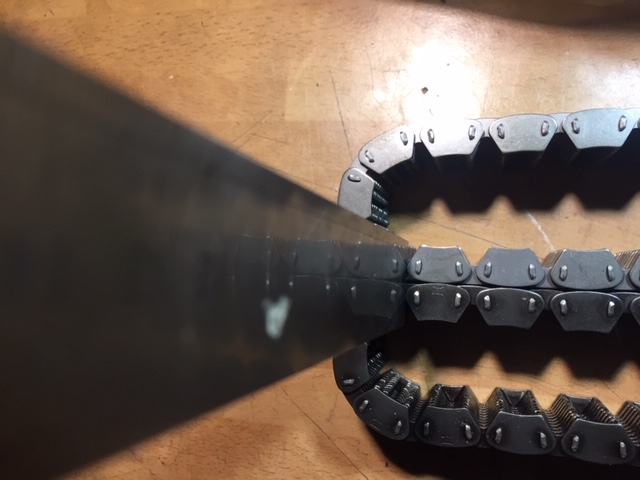
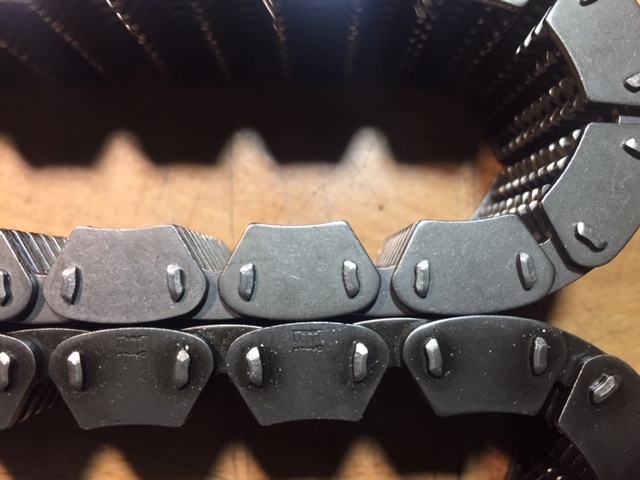
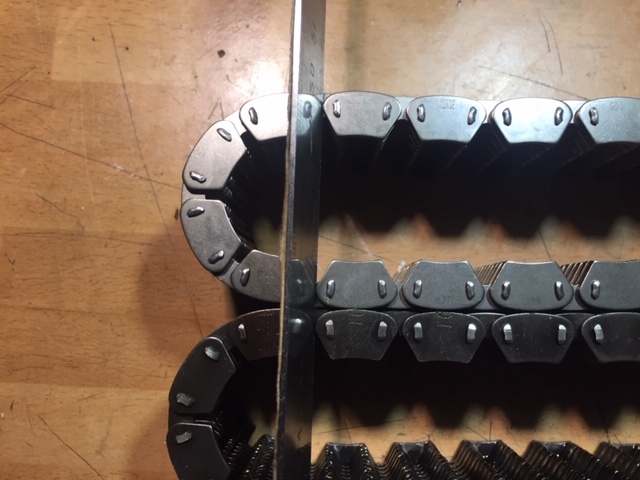
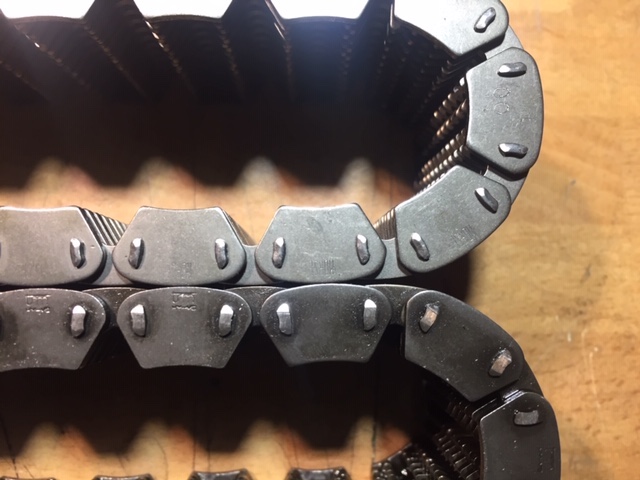
The difference in length is virtually imperceptible. The new chains feel stiffer than the old ones and flex slightly less, but other than that they are very similar. There is a length difference, but it is very slight. I could only see it by lining up two links with a metal bar and pulling the chains straight, then at the other end you can see a very slight length difference. Top ones are the new ones.
Six-Pot-Cafe in the making...
Last edit: 6 years 5 months ago by McBoney.
Please Log in or Create an account to join the conversation.
- McBoney
-
Topic Author
- Offline
- Platinum Member
-
- Posts: 585
- Thanks: 96
Re: Another basket case project, but with potentially a different end goal!
6 years 5 months ago
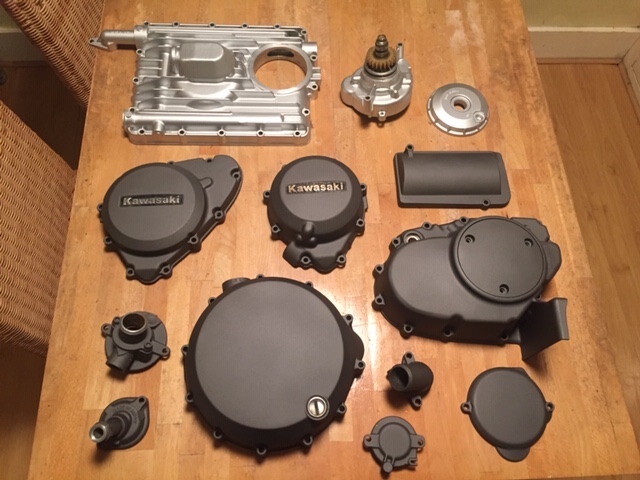
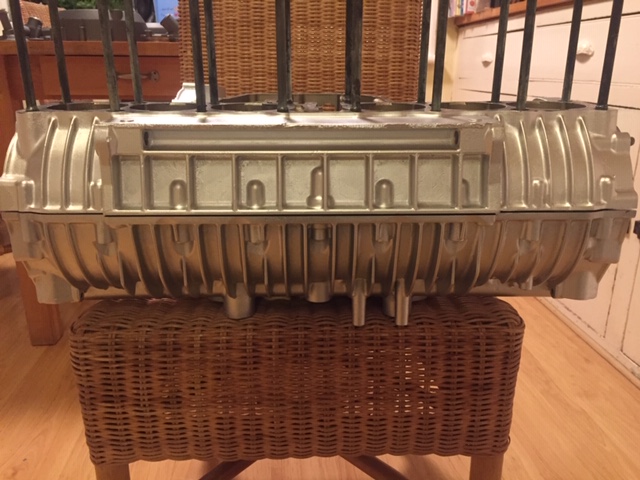
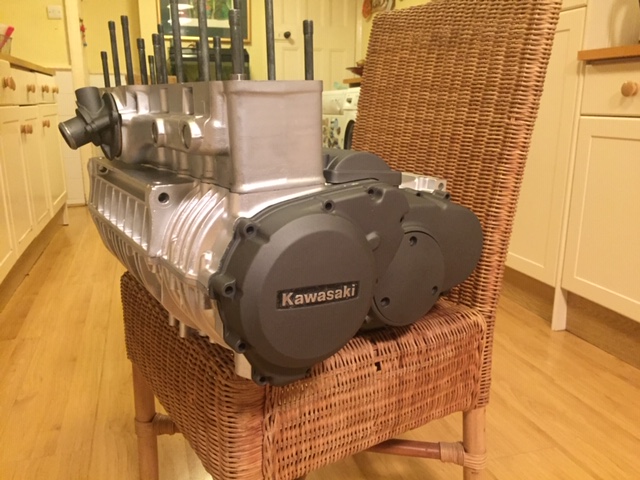
Paint is dry! 
Looking nice I think, but the grey still needs clear coating to get the gloss and the block still needs baking.
Also, I couldn't resist doing a quick mock-up...

Looking nice I think, but the grey still needs clear coating to get the gloss and the block still needs baking.
Also, I couldn't resist doing a quick mock-up...
Six-Pot-Cafe in the making...
The following user(s) said Thank You: StanG
Please Log in or Create an account to join the conversation.
Moderators: dcarver220b
Time to create page: 0.185 seconds