Excellent write up Kawboy.
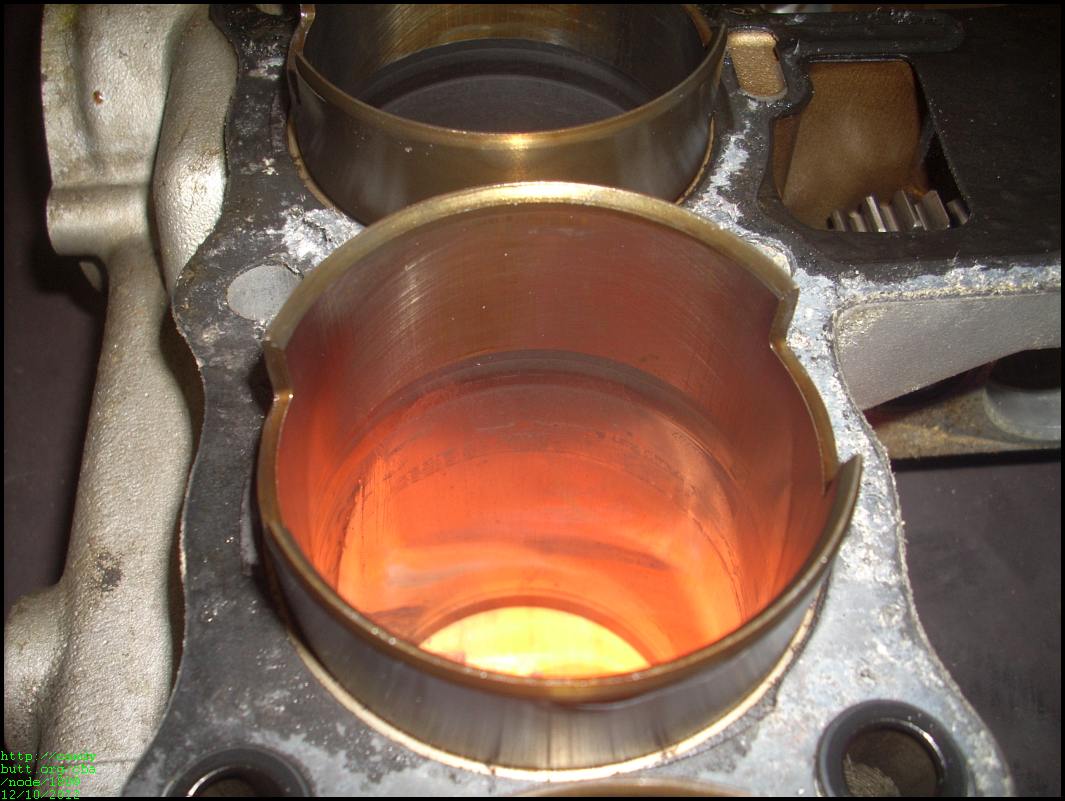
There has long been a debate about the necessary surface finish for a cylinder after honing. In the 2 stroke word they managed to fit pistons and seat rings on mirror smooth chrome and nickle-chrome plating. Briggs and Stratton did it for decades that way. Yet engine builders would swear a corse hone was necessary or you could risk oil consumption. I never remember seeing a cross-hatch in a brand new OEM engine of any kind now that I think about it.
Some piston ring manufacturers will specify a surface finish and I would tend to follow thier requirements.
Another consideration is that the 1300, particularly the early ones had defective cylinder bores, they were put of round from day one, and some shops in an attempt to resolve oil consumption issues may have had better luck with a coarse hone. These bikes were usually rebuilt and I don't know if the dealer SOP was to re-hone and ring or bore the cylinders and fit oversized pistons. While this was known issue in 79 I don't think any knows how common or rare it was. I suspect it may have been pretty uncommon.
We could write a book on this topic, literally.
Like everything else in life, if you've done something in the past and succeeded, you don't need guidance to do it again. if you buy a new motorcycle, why would you need to look through the Operating Manual to learn how to operate your new motorcycle? Turn the key on, place the engine kill switch to run, set the choke, pull in the clutch and hit the start button. When warmed up, rock off the main stand, pull in the clutch, select first gear and pull away. Done it before. it's a no brainer.
Operating Manuals and Service Manuals are used for reference only. Nobody ever pulls out a manual unless they need more information that they don't have in their brain at the time. It's the curse of present society. We have no time to learn things to the point that we have a new saying as of 10 years ago. Multitasking- the performing of more than one task at the same time. I believe that the oil consumption issues of the 1979's could probably be justified by improper break in due to not following the instructions in the Operating Manual, The dealers selling the 1980-1989 models probably told the new owners that if they didn't follow the break in period to the letter, that any oil consumption problems would not be corrected with warranty, so .......
Back in the 1980's, when cars and motorcycles left the assembly plant, they would have left with break in oil installed which is a mineral oil without any friction modifiers to give the piston rings and cylinders a chance to break in. Many owners who spent $4000 of their hard earned money on a new toy, would change the engine oil and filter in as little as a100 miles to put in the best engine oil of their choice and that could contribute to failed break in.
Some new owners might for shits and giggles, just run a new engine up to redline just to find out how powerful their new toy was and that may have caused a failed break in.
Then there are the guys who find information on the internet suggesting different "better ways" to break in a new set of rings by running up a fresh rebuild warmed up engine to redline and then cutting the ignition and waiting for the engine to go cool, then repeating that 3 more times, then driving it the way you drive it because the rings have seated.
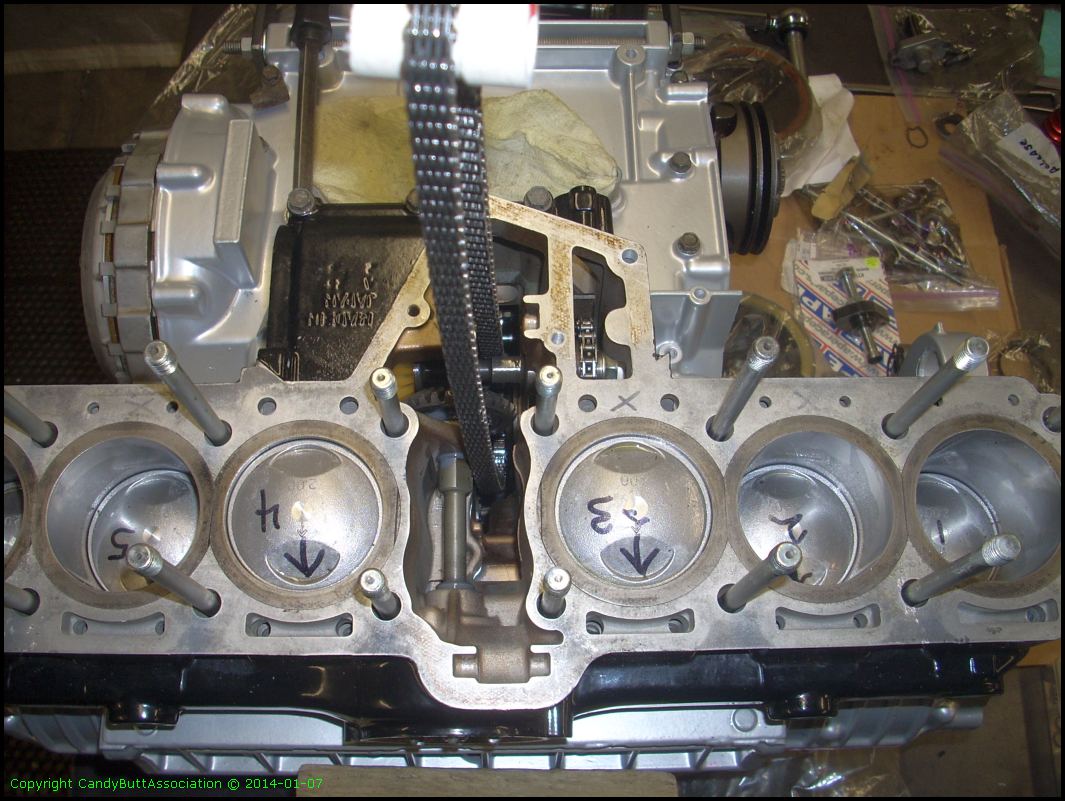
So many ways to fail a break in and cause damage (seized pistons) or glazed cylinders that won't allow the rings to seat etc. Tyler talked about chromium cylinders and Nickel Composite cylinders which would have had cast iron rings. Hard cylinder walls need soft rings to properly marry up. Very common practice in 2 stroke engines at that time during break in usually included an oil rich mixture for the first tank full (20:1), followed with a normal oil/fuel ratio (40:1)
Aftermarket ring manufacturers have many different finishing processes on the ring sealing surface and they require different cylinder honing processes to be followed along with proper break in periods in order for the rings to properly seat, So it's critical that both the engine rebuilder and the operator follow a "best practice" for success - Machining Instructions and Break In Instructions.
Instructions are not guidelines. They are specific "To Do" step by step direct orders to be followed. They are developed during engineering processes when designing a new process. As an operator or operator maintainer of a piece of equipment, Operating Manuals and Service Manuals are dumbed down to give minimum guidance to the reader in order to achieve success and not overly complicate the information to the point that the information is overwhelming and won't be followed.
Back in my 20's, I was a licenced mechanic and I was good at what I did. I was fast, efficient and seldom ever have a comeback for rework. Then I got a job in nuclear and got exposed to a higher level of maintenance. We were also expected to have an understanding of the engineering aspect of the equipment that we worked on and from that point in my life and going forward, came to realize just how shitty a mechanic I was years before. I did good work but didn't know shit from apples about what or why I was repairing cars. Repairing cars - Break down Maintenance - an unacceptable maintenance practice in nuclear. To the regulatory body who licenced the facility, it means you're way behind the eight ball and out of control. Preventative Maintenance ( oil changes, tune ups etc.) good practice to inspect, record and advise engineers on the operating of the equipment which will help develop a best practice which is Predictive Maintenance - to rebuild equipment before failure by knowing the service life of the components and replacing before failure. Predictive Maintenance is where I like to perform now that I know what it is.