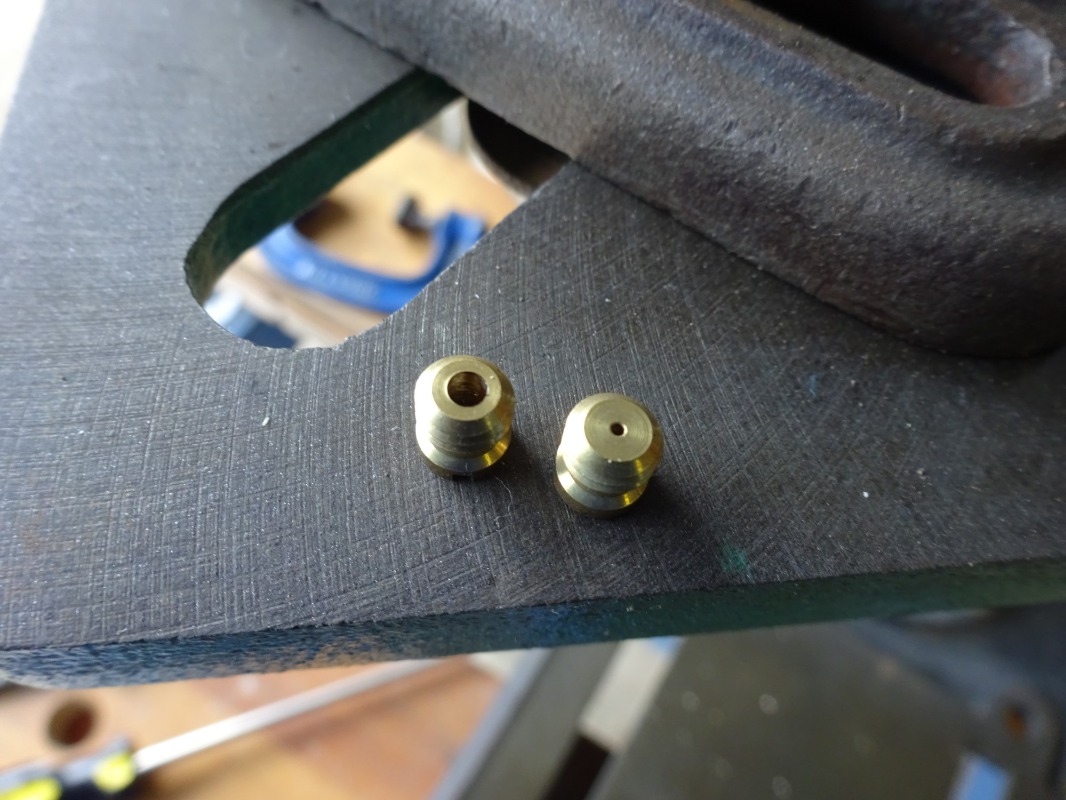
So after my trials and tribulations splitting the carbs, I finally got round to implementing the choke air mod as recommended by Scotch. To avoid any drilling or modification that I could not reverse, I went for the screw in Mikuni M6 jets. Unfortunately, I could not source the 240 sizes recommended so I bought 3 jets B42/55, 40 size and opened them out with a 2.4 mm drill. I would not do this for fuel jets as it’s probably not accurate enough but in my view, acceptable for air jets this size.
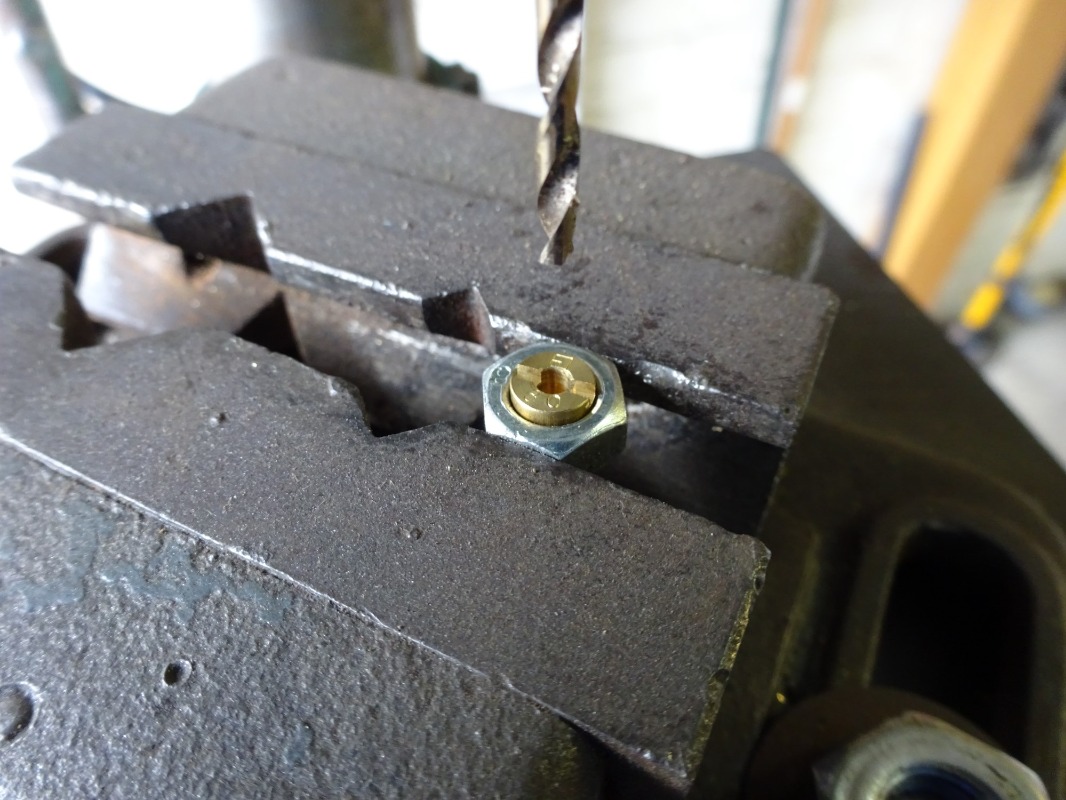
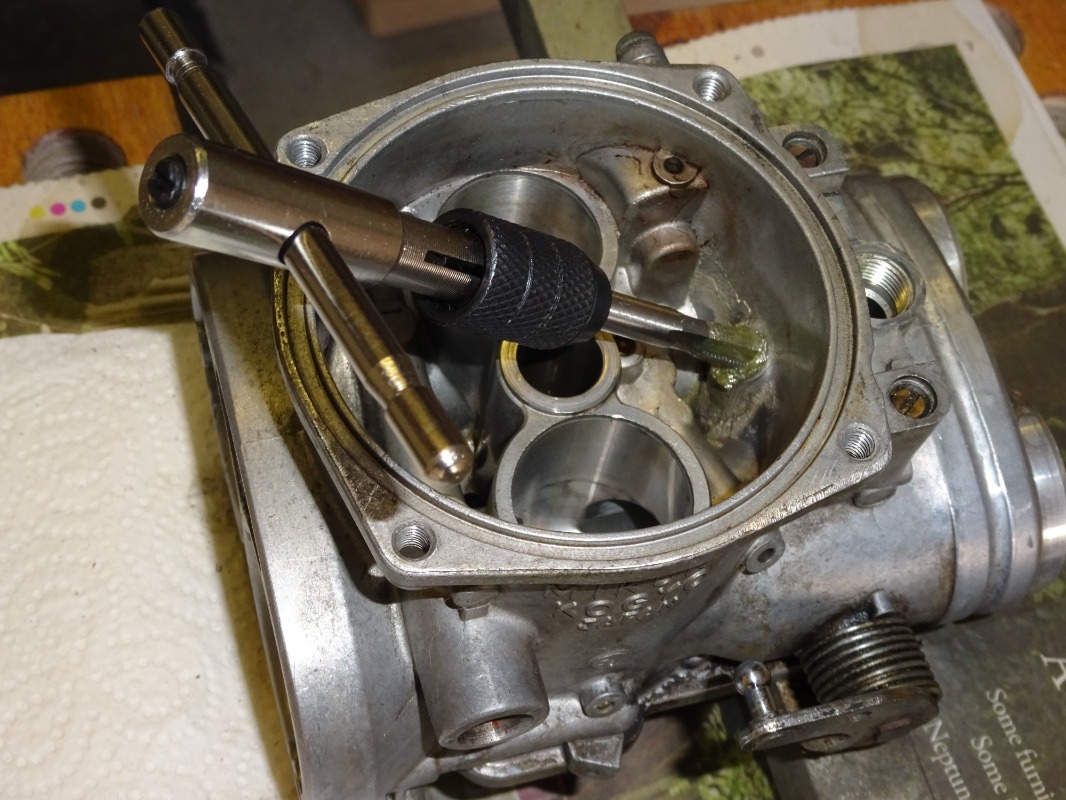
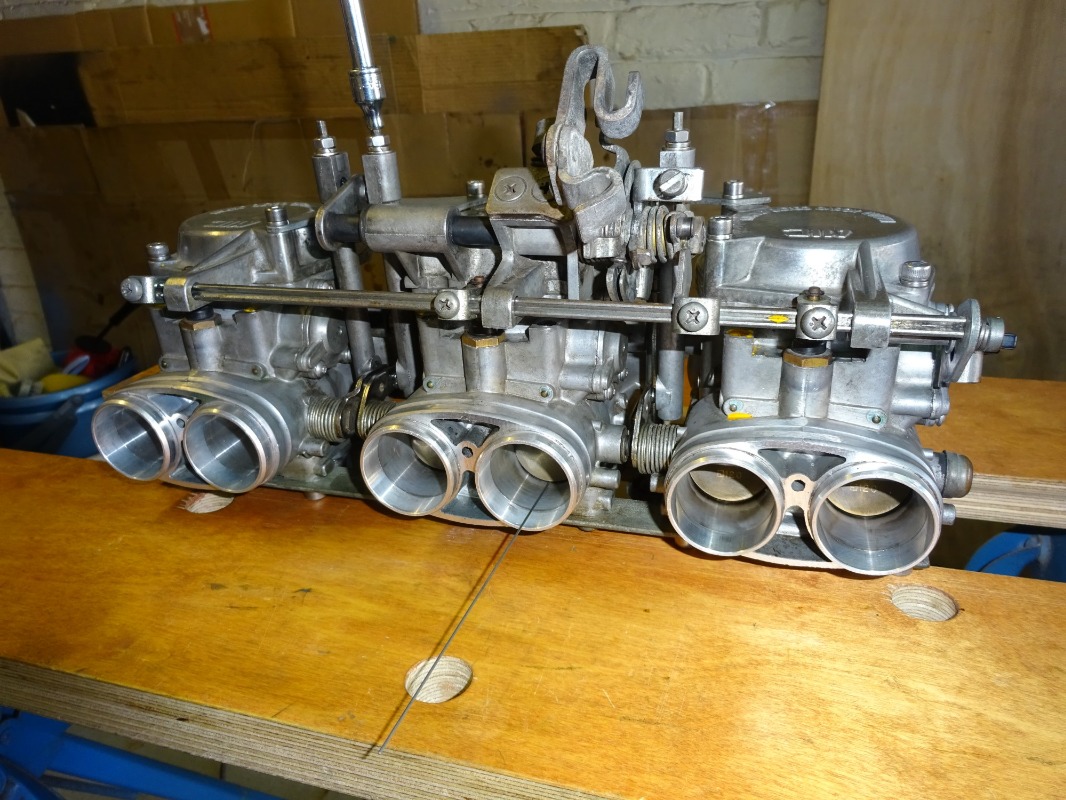
I dismantled the carbs one at a time and removed the floats, needle valves and jets and turned them over and removed the choke plunger valves, diaphragms and pistons together with the pilot air jets. I then tapped the choke air inlet hole in the upper body with an M6x1mm tap – as the choke air jet is slightly smaller than the recommended tap drill size, I found it important to make sure that the tap was aligned as carefully as possible with the hole centre - I just about perfected this by the time I got to the third carb – as usual! I also greased the tap heavily to try and keep any swarf attached to the tap rather than dropping into the choke channels. This worked to a certain extent but any remaining particles were vacuumed out using a plastic pipe connected to the end of my old vacuum cleaner. A few sprays of carb cleaner entered via the choke plunger hole helped to ensure that the channels and threads were clear of anything that might end up blocking or damaging the carbs/engine.
I then cleaned all of the jets and carb passages with STP Carb Cleaner – this seems to share a number of constituents with cellulose thinners or “lacquer thinners” as sometimes referred to as was very effective in cleaning the channels/jets as well as melting anything plastic including some of my protective gloves. I also replaced the “O” rings on the pilot jets as the 40+ year old originals had gone very hard and were probably leaking. (original “O” ring on left, new one on right)
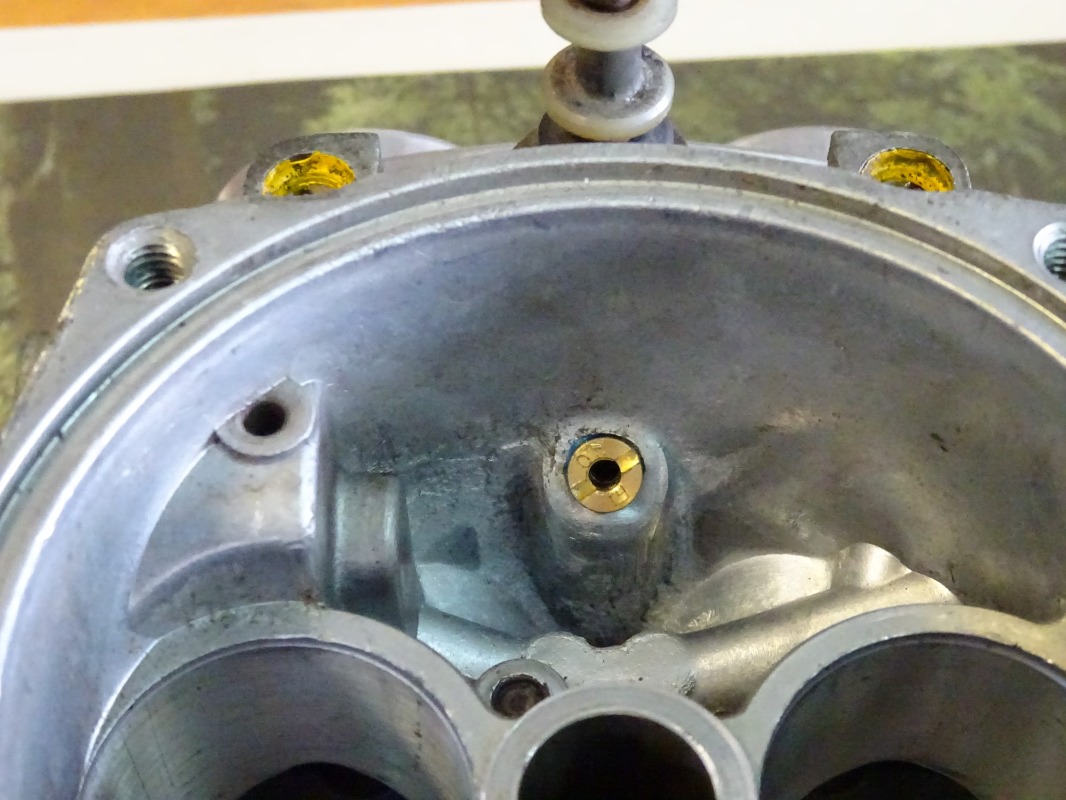
I fitted the new air jets in place with a dab of thread lock as I did not want to over tighten and also did not want them falling out.
I rebuilt the carbs, checking float heights and fitting new float bowl gaskets and I also replaced the fuel feed joints with some brass aftermarket units that also feature separate “O” rings rather than the originals which seem to have integrated seals. Re-fitting the carbs to the mounting plate whilst connecting the throttle plate link rods is a bit finicky but persistence pays. Also important to ensure that all carbs sit square relative to their axes to ensure a good joint to the inlet stubs without any leaks due to misalignment. I was a little confused initially by the instructions in the workshop manual to bottom the link rod adjusting screws as I thought this would just fully compress the internal link rod springs. However, the internal rods have a recess that allows room for the spring to compress without completely flattening them. I then backed out each 1.5 turns as recommended. I found the best way to match throttle openings between each carb was to use the “wire method” – turning in the idle adjusting screw near to its maximum to open the throttle plates slightly and then using a thin wire to check the clearance between the throttle plates and carb apertures until they were matched as closely as possible – I only had to turn the adjusting screws by about +/- quarter turn to reach an acceptable match.
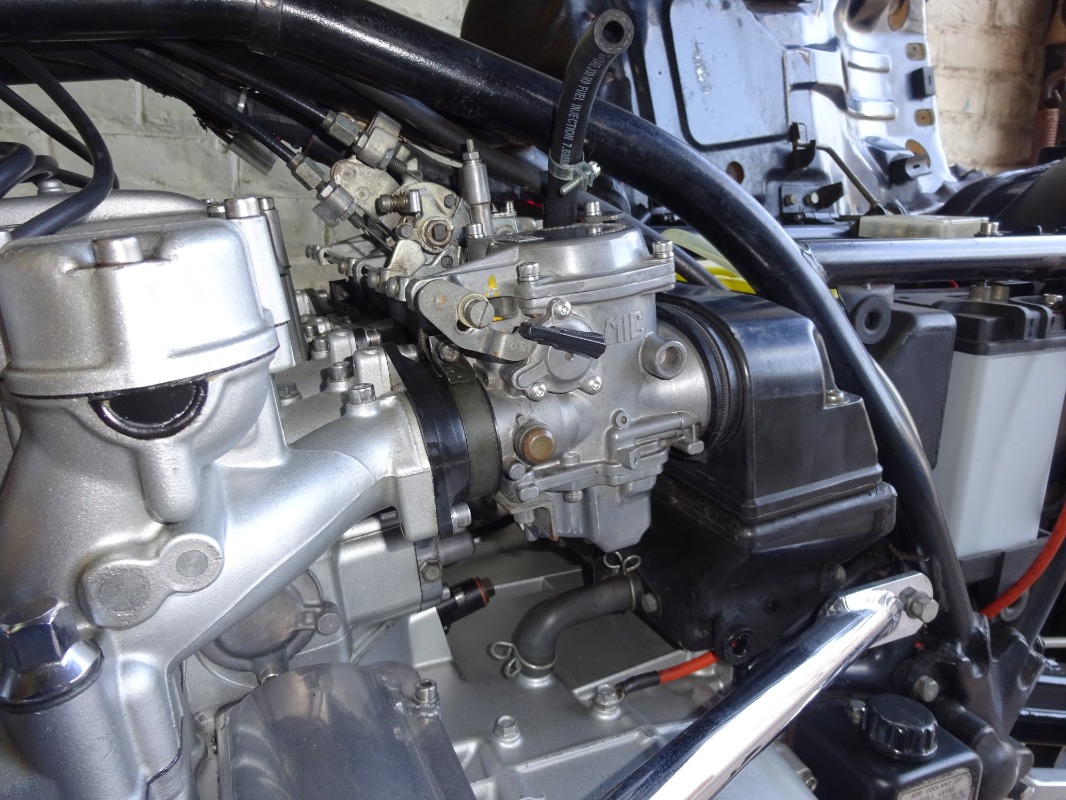
I measured the height of the idle adjusting screw above the carb body before dismantling and did my best to set this to the same value. I also set the pilot air jets with new much rounder “O” rings to 3.5 turns out. I also set the fast idle clearance as recommended in the manual and then re-fitted the carbs to the bike – using some vaseline on the airbox rubbers which seems to help enormously in getting them to engage correctly.
So, the result. After connecting the fuel tank to the carbs with a spare hose and enaging about one quarter choke (my usual approach in relatively warm weather), the engine started immediately and ran very smoothly at about 2000 rev/min. I gradually reduced the choke to zero as the engine warmed up but the engine was still idling at around 1500 rev/min so I backed out the idle screw to achieve a c. 900 rev/min idle speed. I then switched the engine off and waited for it to cool down so I could fit my vacuum gauges. I also re-adjusted the fast idle screw to achieve the recommended 0.54-0.55mm clearance to the fast idle cam.However, on restarting again when cold, I really struggled to keep the engine running – too much choke and it seemed to run too rich and stop, too little and the engine idle speed was too low to keep running so I ended up juggling the choke and twist grip throttle to try and keep the engine running. Once even slightly warm, I could release the choke completely and the engine ran extremely smoothly with instant throttle response.
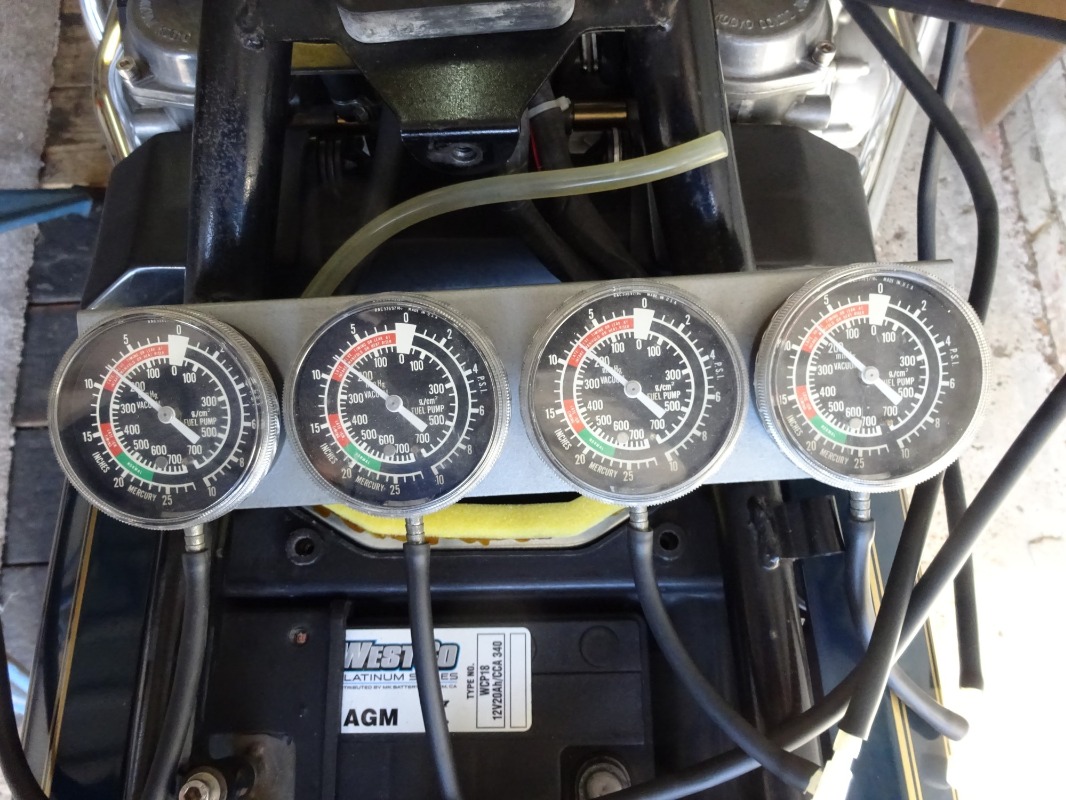
Using a set of vacuum gauges connected to cylinders 1, 4, 5 and 6, I fine tuned the link rod adjusting screws to achieve best balance – maximum readings on CV motorcycle carbs seem to be limited to about 7.5-8 inches Hg – I’ve found this with a number of bikes, not just the Z1300. I only had to adjust the screws by about one eighth turn although each adjustment induces a good deal of interaction between carb readings so trial and error seems to be the best approach.
I then spent several weeks of trial and error with the fast idle screw, trying to find a new balance between the now much more responsive choke plungers with the fast idle clearance. Once warmed up, the engine is even better than it has run in the past with very smooth idle and instant throttle response at all engine speeds (I put this down to the new pilot air jet “O” rings and the cleaning process). However, I could never find a balance between fast idle speed and choke position and after multiple cold starts, spending too much time juggling choke and throttle, decided to remove the choke air jets. Having done this and re-set & rebalanced the carbs, all is back to normal with start on first button press and reliable idle speeds, allowing immediate drive away after starting. I’ve yet to find if my cleaning has improved starting after a long lay up each season (the original reason for fitting the mod) but I think it better to have a reliable regular start during the summer months than a quick start after a winter lay up and fiddly regular starting. I would be interested in hearing of other experiences with this mod and any changes in starting behaviour.